Prospect
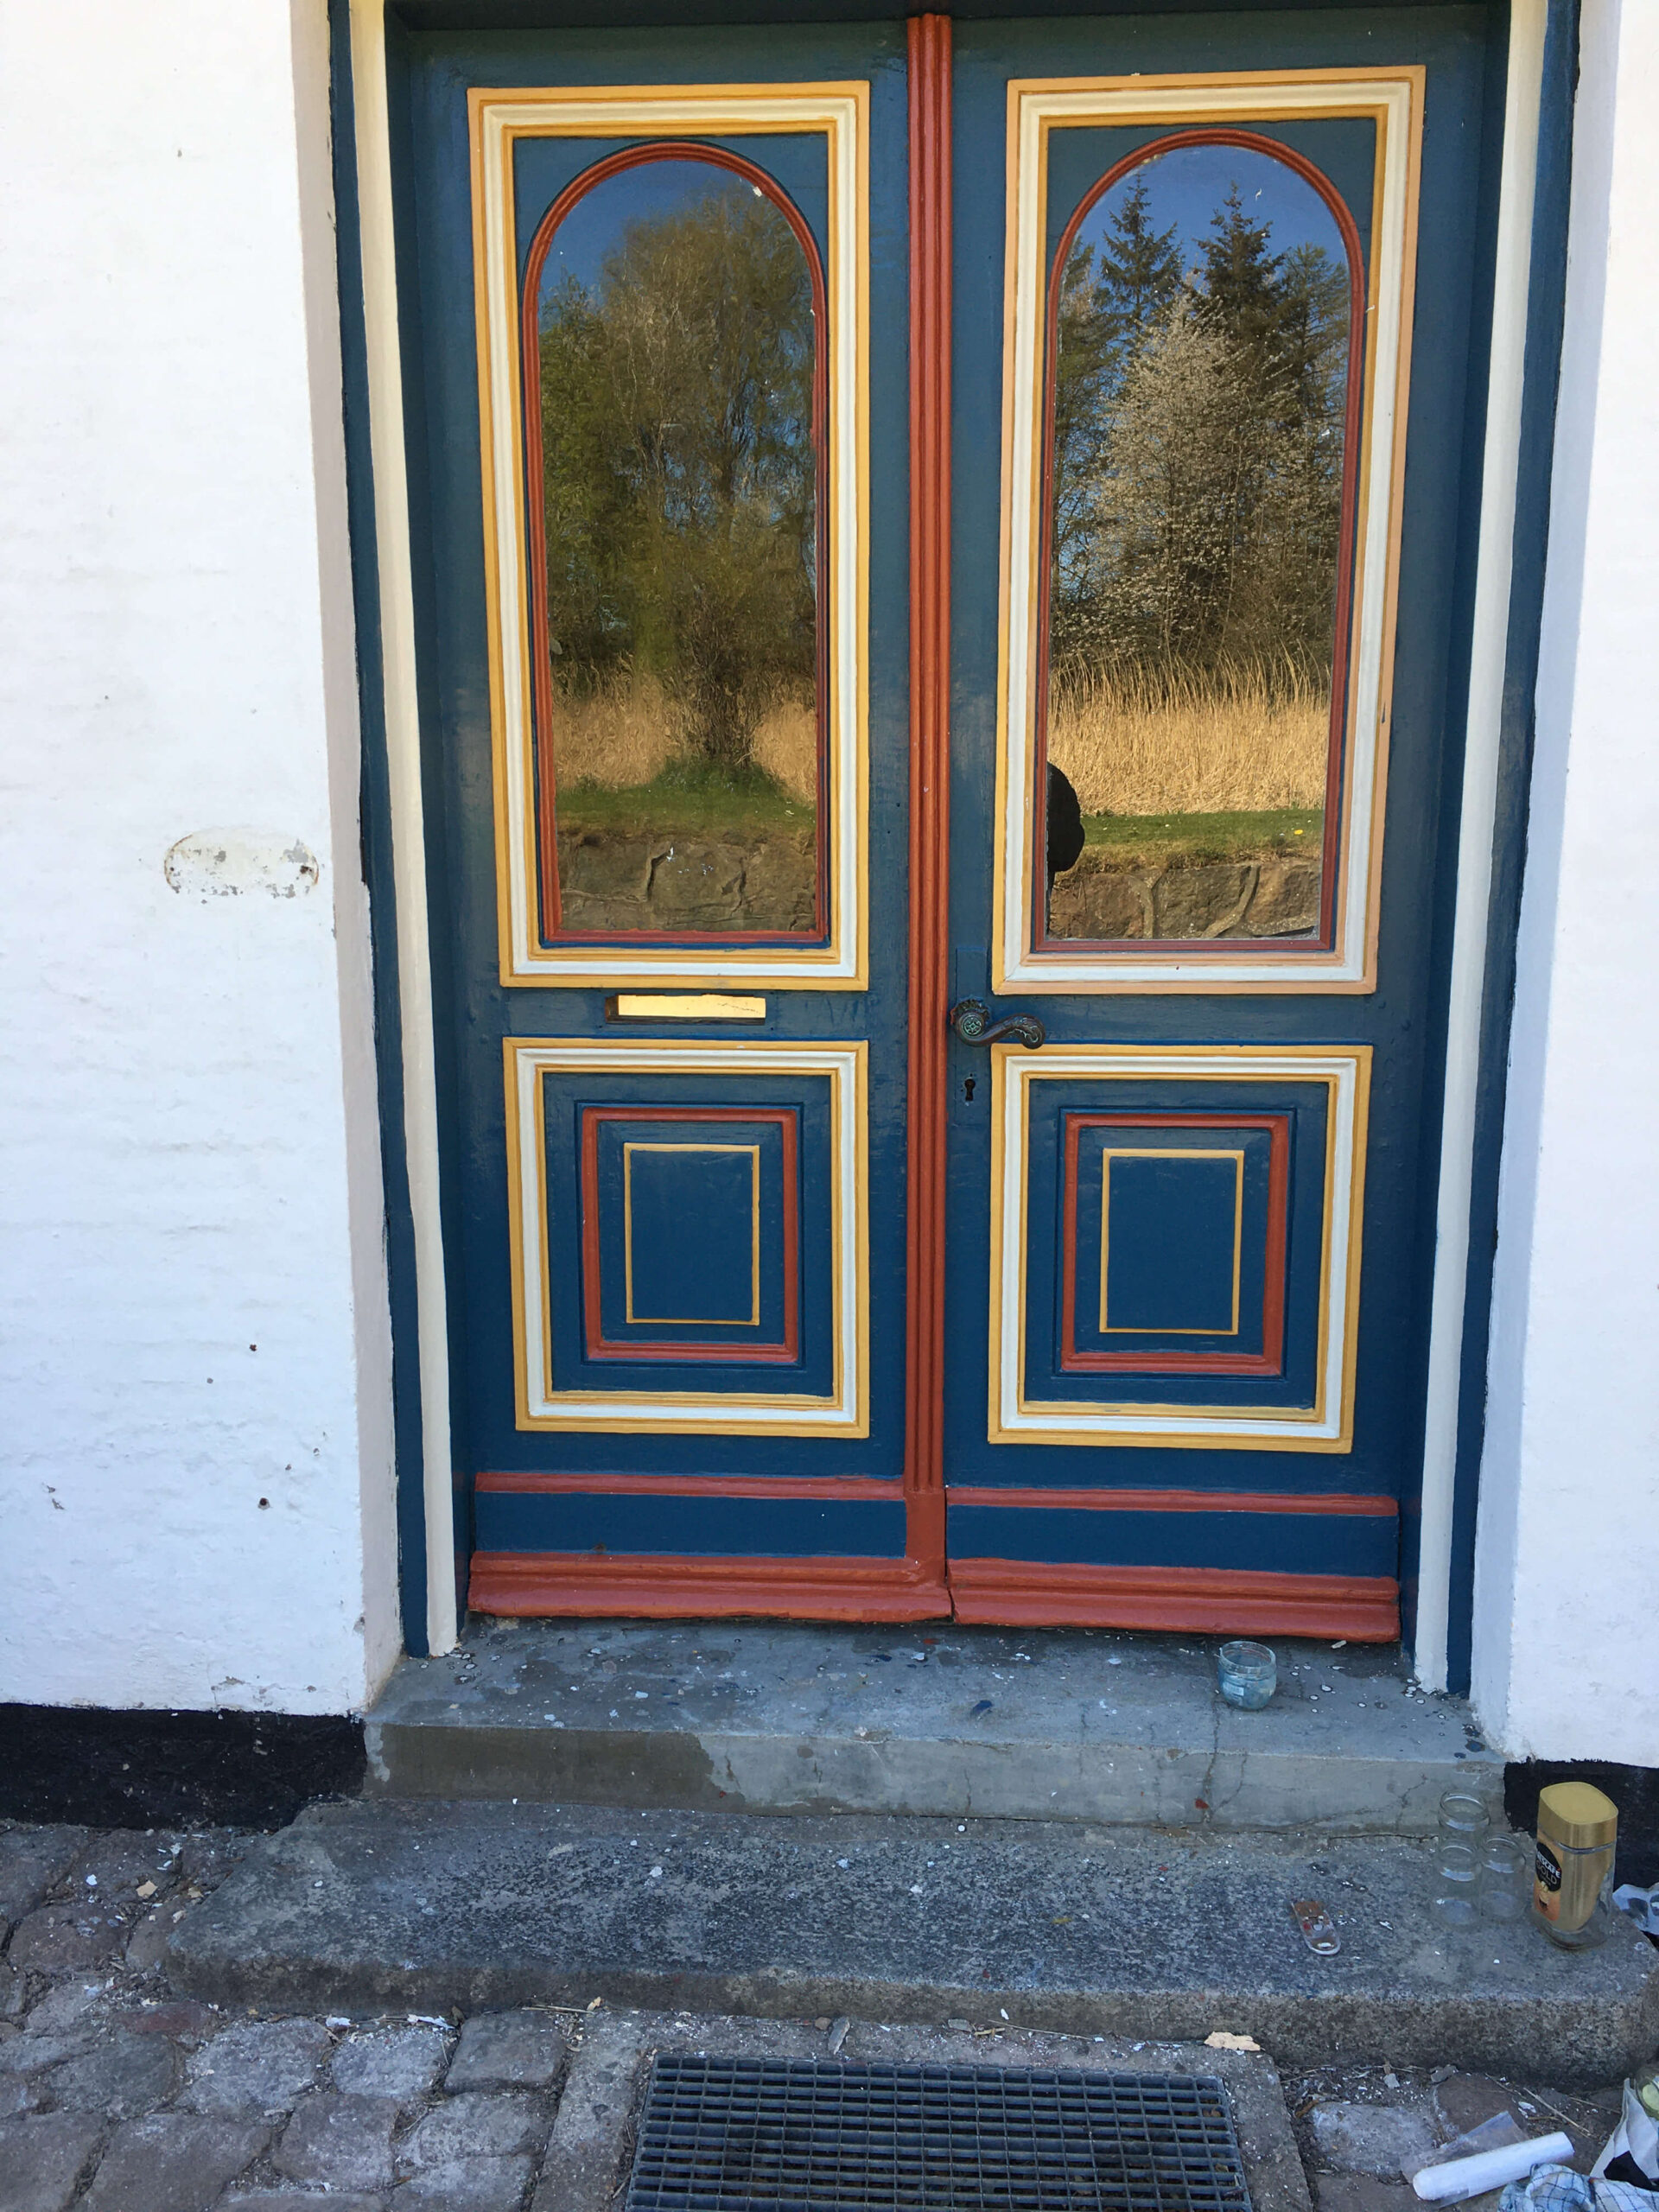
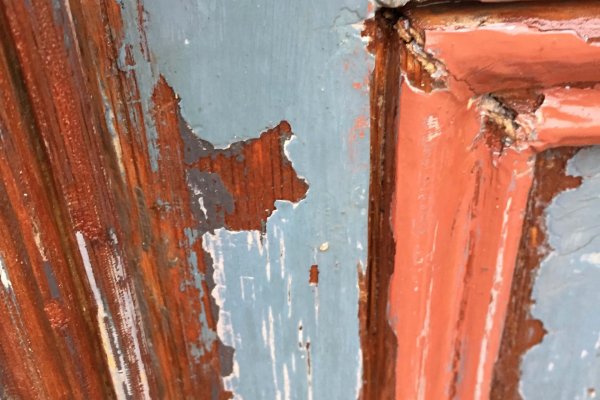
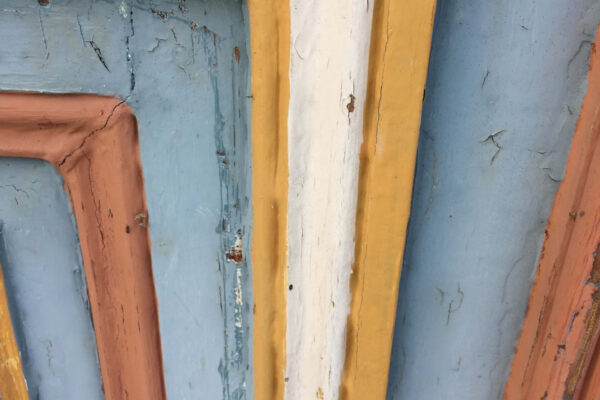
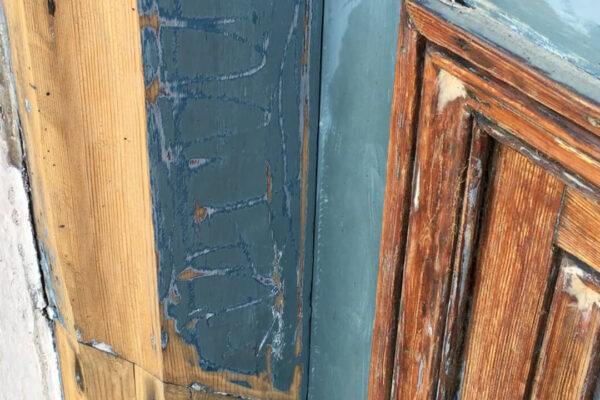
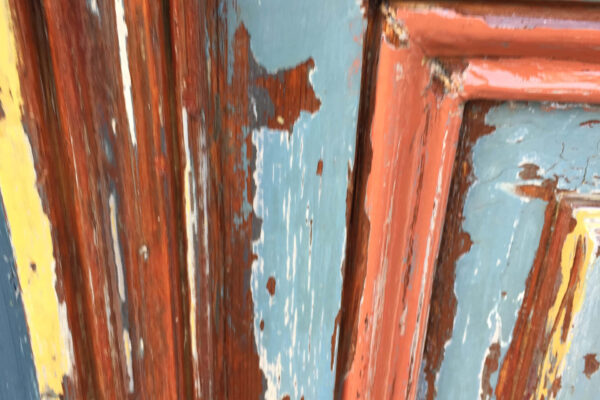
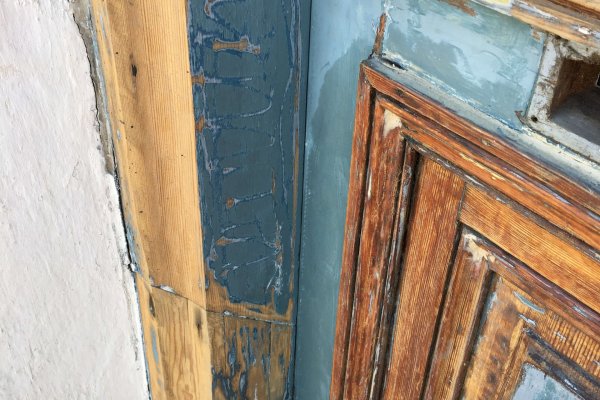
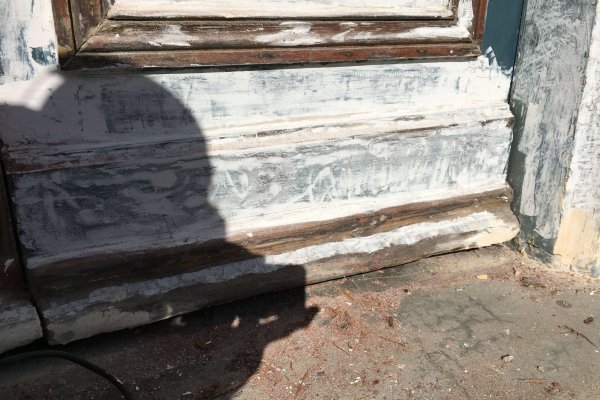
This old door from 1790 is made from oak and shows signs of breaking down, as well as the old pain is coming off in flakes. The door is painted in multiple colours as is the tradition in the Southern Denmark. The oak is drying out, so need treatment, as well as I need to repair the worn out places. I will paint the door using the traditional linen-seed oil.
STEP BY STEP
Follow each step during the process from start to finish

- Video
- 1 - Remove old paint
- 2 - Repair using Chemical Wood
- 3 - Use regular spartial
- 4 - Grounding with oil
- 5 - Rinse cobber
1.
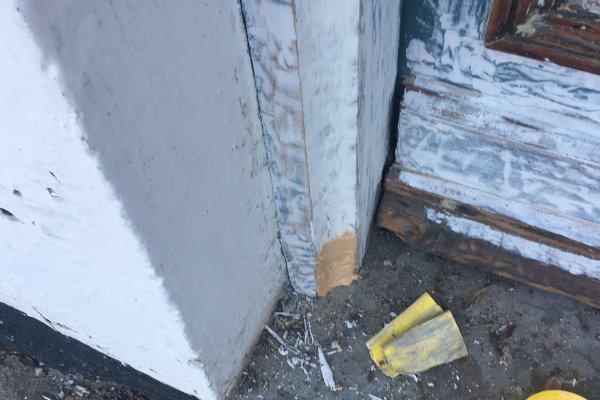
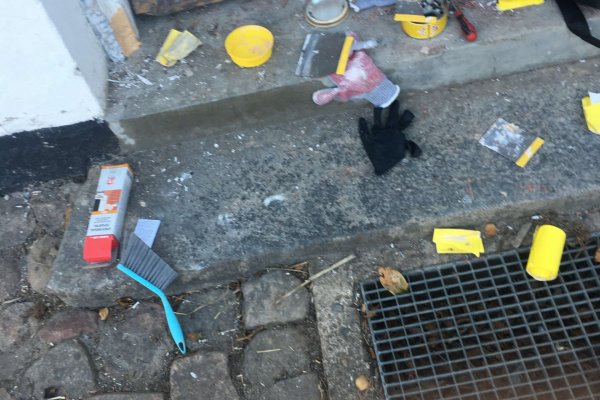
Remove flakes using scraper, delta-cutter, knife and screw-driver.
At first, I used a large flat screw-driver as well as a paint-scraper to easily peel off the loose flake of old paint.
I used a knife to cut out the worn linen-seed oil kit, which was dried out after many of years (perhaps 15 years?).
At the corners, where paint in multiple layers had rounded the edges, I used a knife and screwdriver to scrap the paint off. More places it came off in pieces when just applying pressure using the screw-driver.
At some places I found out it was beneficial using the rasp on the delta-cutter, to get some of the paint loose.
2.
Using the belt-sander
I used a thin belt-sander which proofed to be somewhat harsh to the old wood the places it has been worn down, but it did the job. I begun using grain 40, as it proofed to be the only way to take off the old paint without warming hence softening the paint, making it stick to the belt.
3.
Using the delta-sander
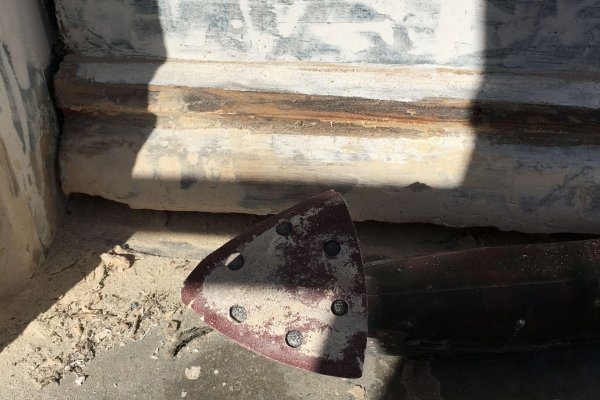
After doing the rough work, I used a delta-cutter/ sander to smoothing after using the rough belt-sander.
4.
Using manual sand-paper
To really get into the tiny places I folded sand-paper. At the corners I used grain 40 to begin with, then using a grain 120.
1.
Where and when to use
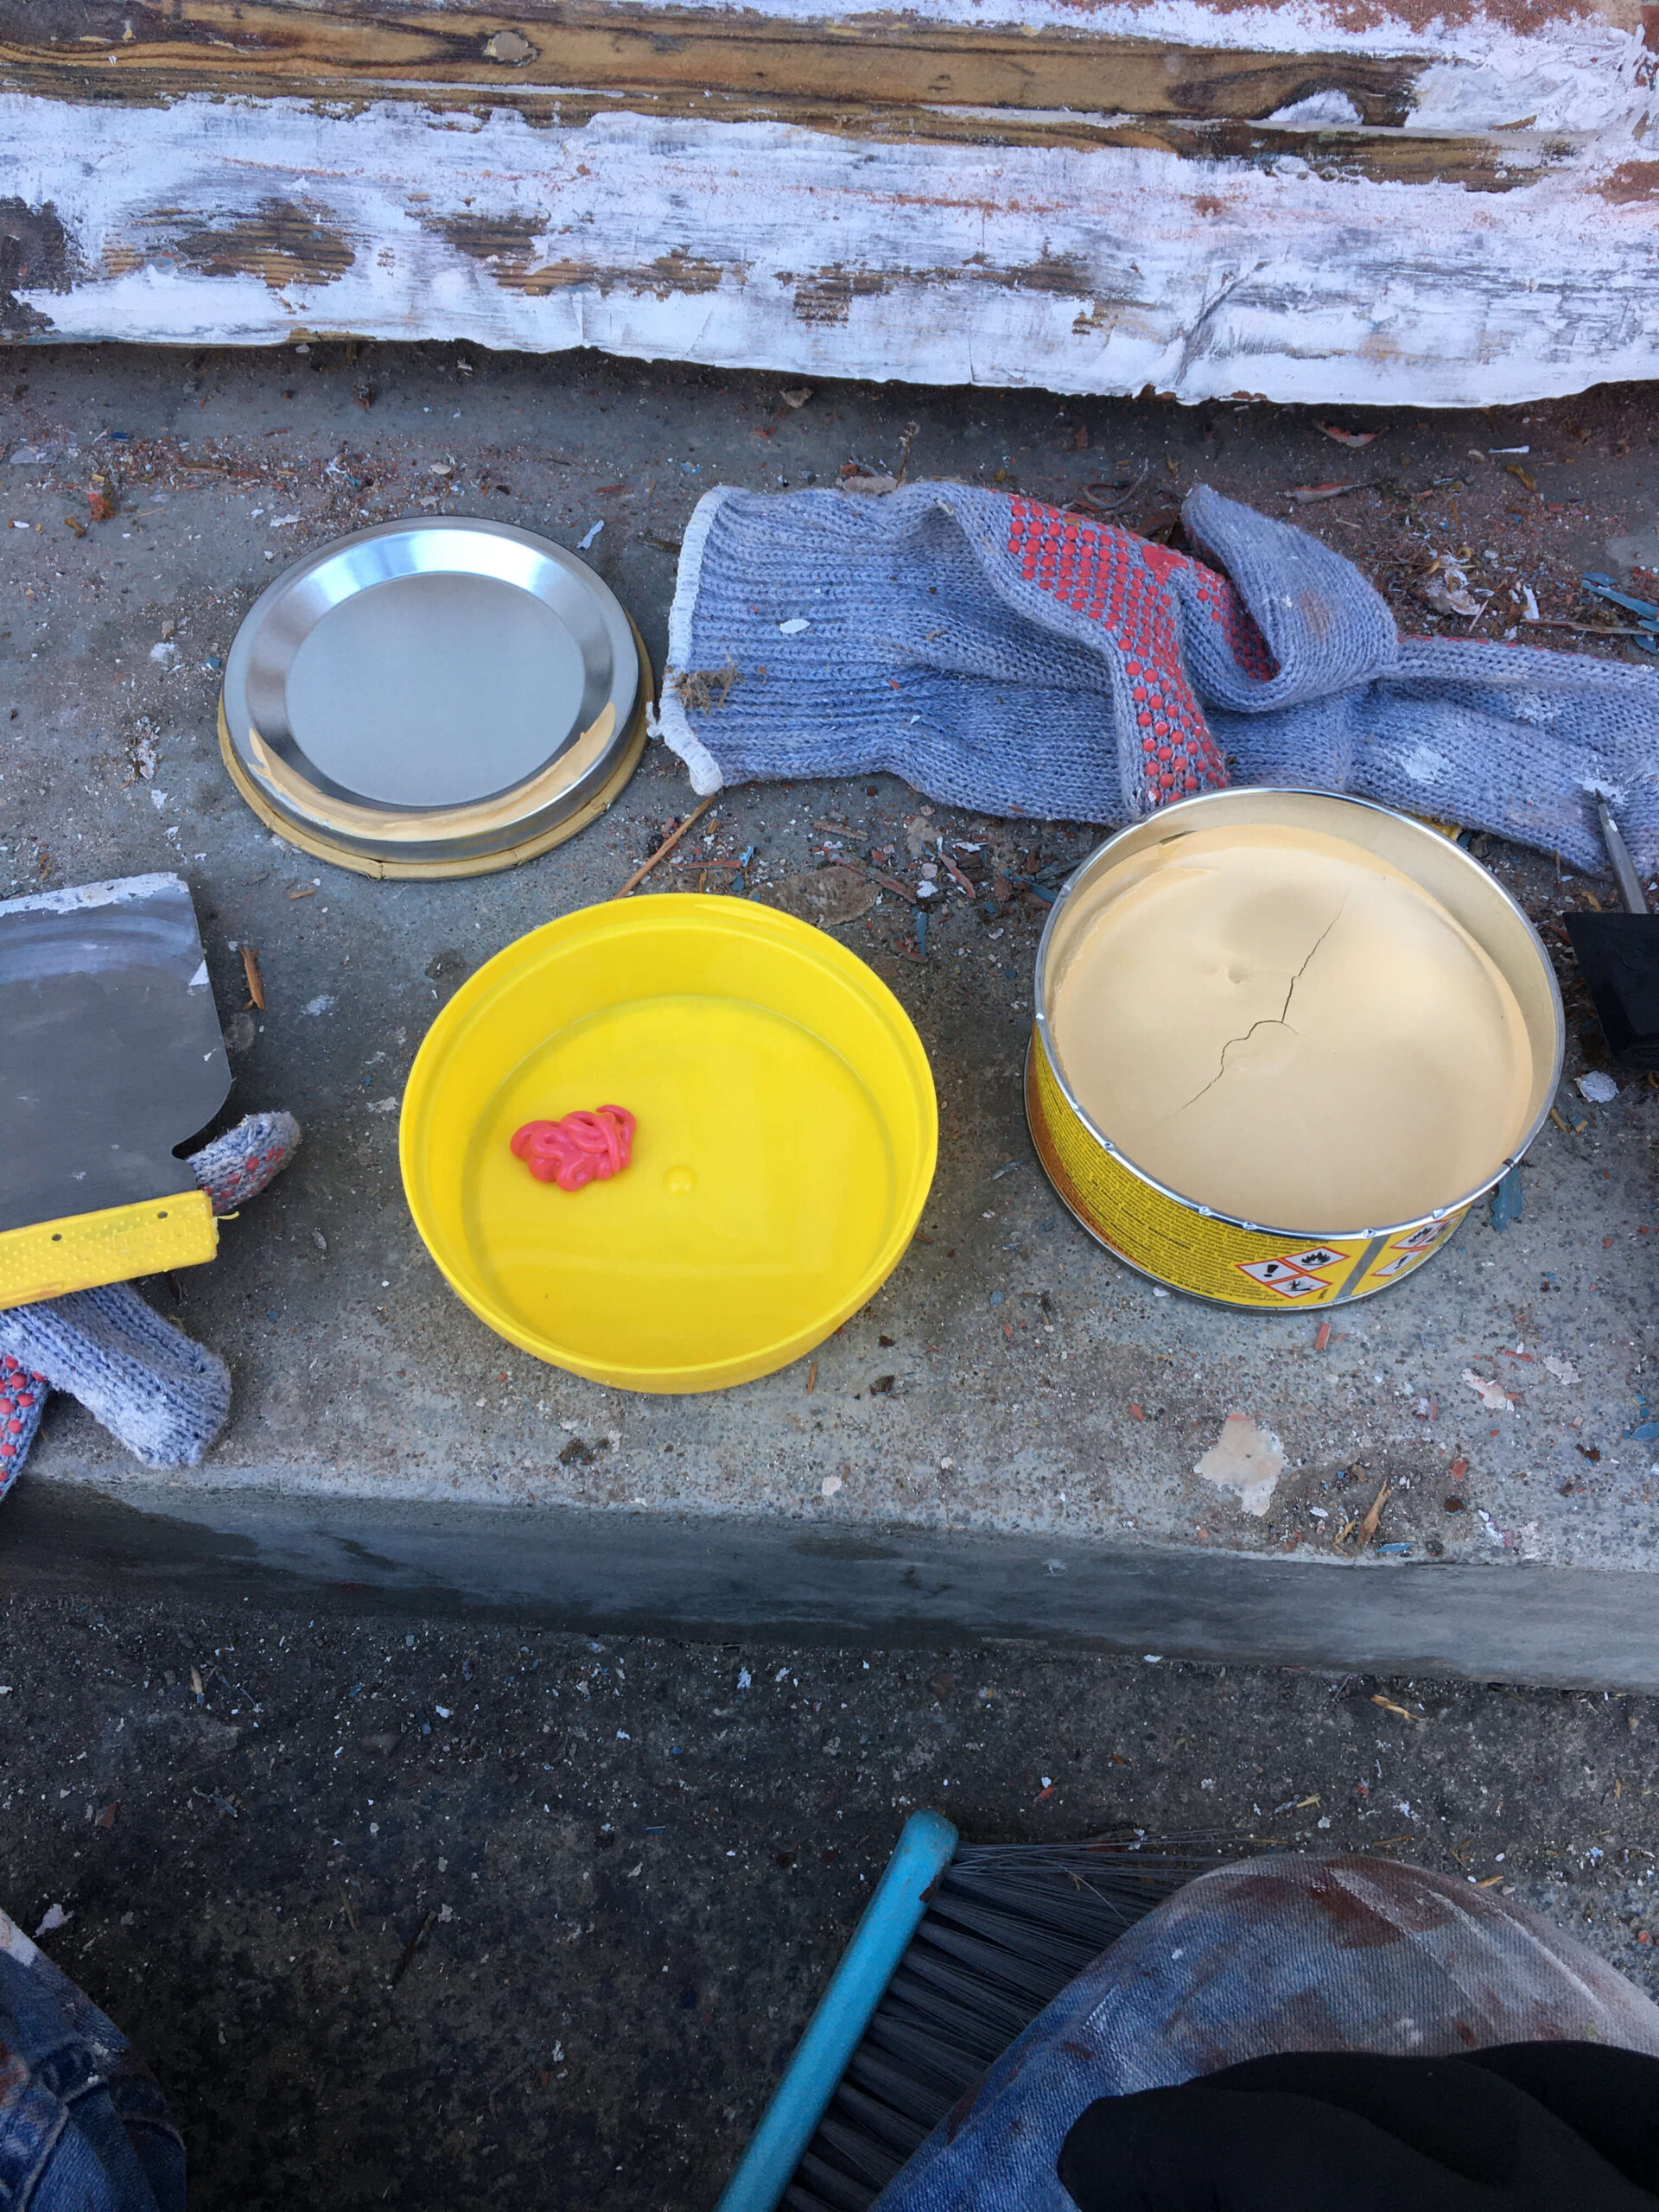
Worn places that are too thick – or where too much torn wood has come off – you cannot use traditional spatial. Chemical wood is extremely durable and perhaps even harder than real wood. For smaller scratches and larger surfaces I use the one-component spatial.
2.
Mixing the compound
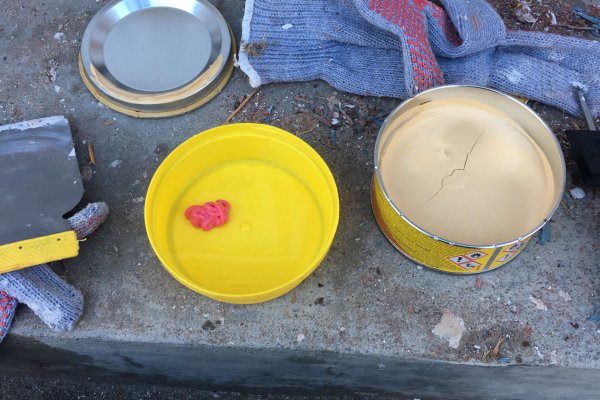
I soon learned I have to be extremely careful not preparing any more than I should use for every single spot. It hardens extremely fast, and as soon as you try to apply the chemical wood that has hardened to much, your already applied filler will come off, or, you will leave remaining pieces of hardened filler that is hard to get off afterwards.
3.
Let it dry
Places that require multiple layers need to completely harden before applying additional layers. It may be hardened on the surface, but underneath the process of hardening is still going on, and the first layer will easily come off, the second you apply just a little bit of pressure. Let each layer of more than 1 mm. harden for at least one day.
4.
Plaining and sanding
The chemical wood becomes warm really fast. This means, when you run over using any machinery or even by manual labour, the filler will soon heat up becoming unstable. It comes off in roles, and in some cases it completely comes off in big pieces. So be careful. You may need to use a sharp knife or multi-cutter to remove spikes or places that have sunk a little.
When you sand paper the filler, you will experience that you leave scratches and it is impossible to get it 100% plain. For that job, I run over a final layer of normal 1-component soft filler.
1.
Where and when to use
After all chemical wood has dried and been sanded, I apply a final layer of regular one-component white and softer filler. I apply using a spatial making the surface as plain as possible.
2.
Give the whole door filler
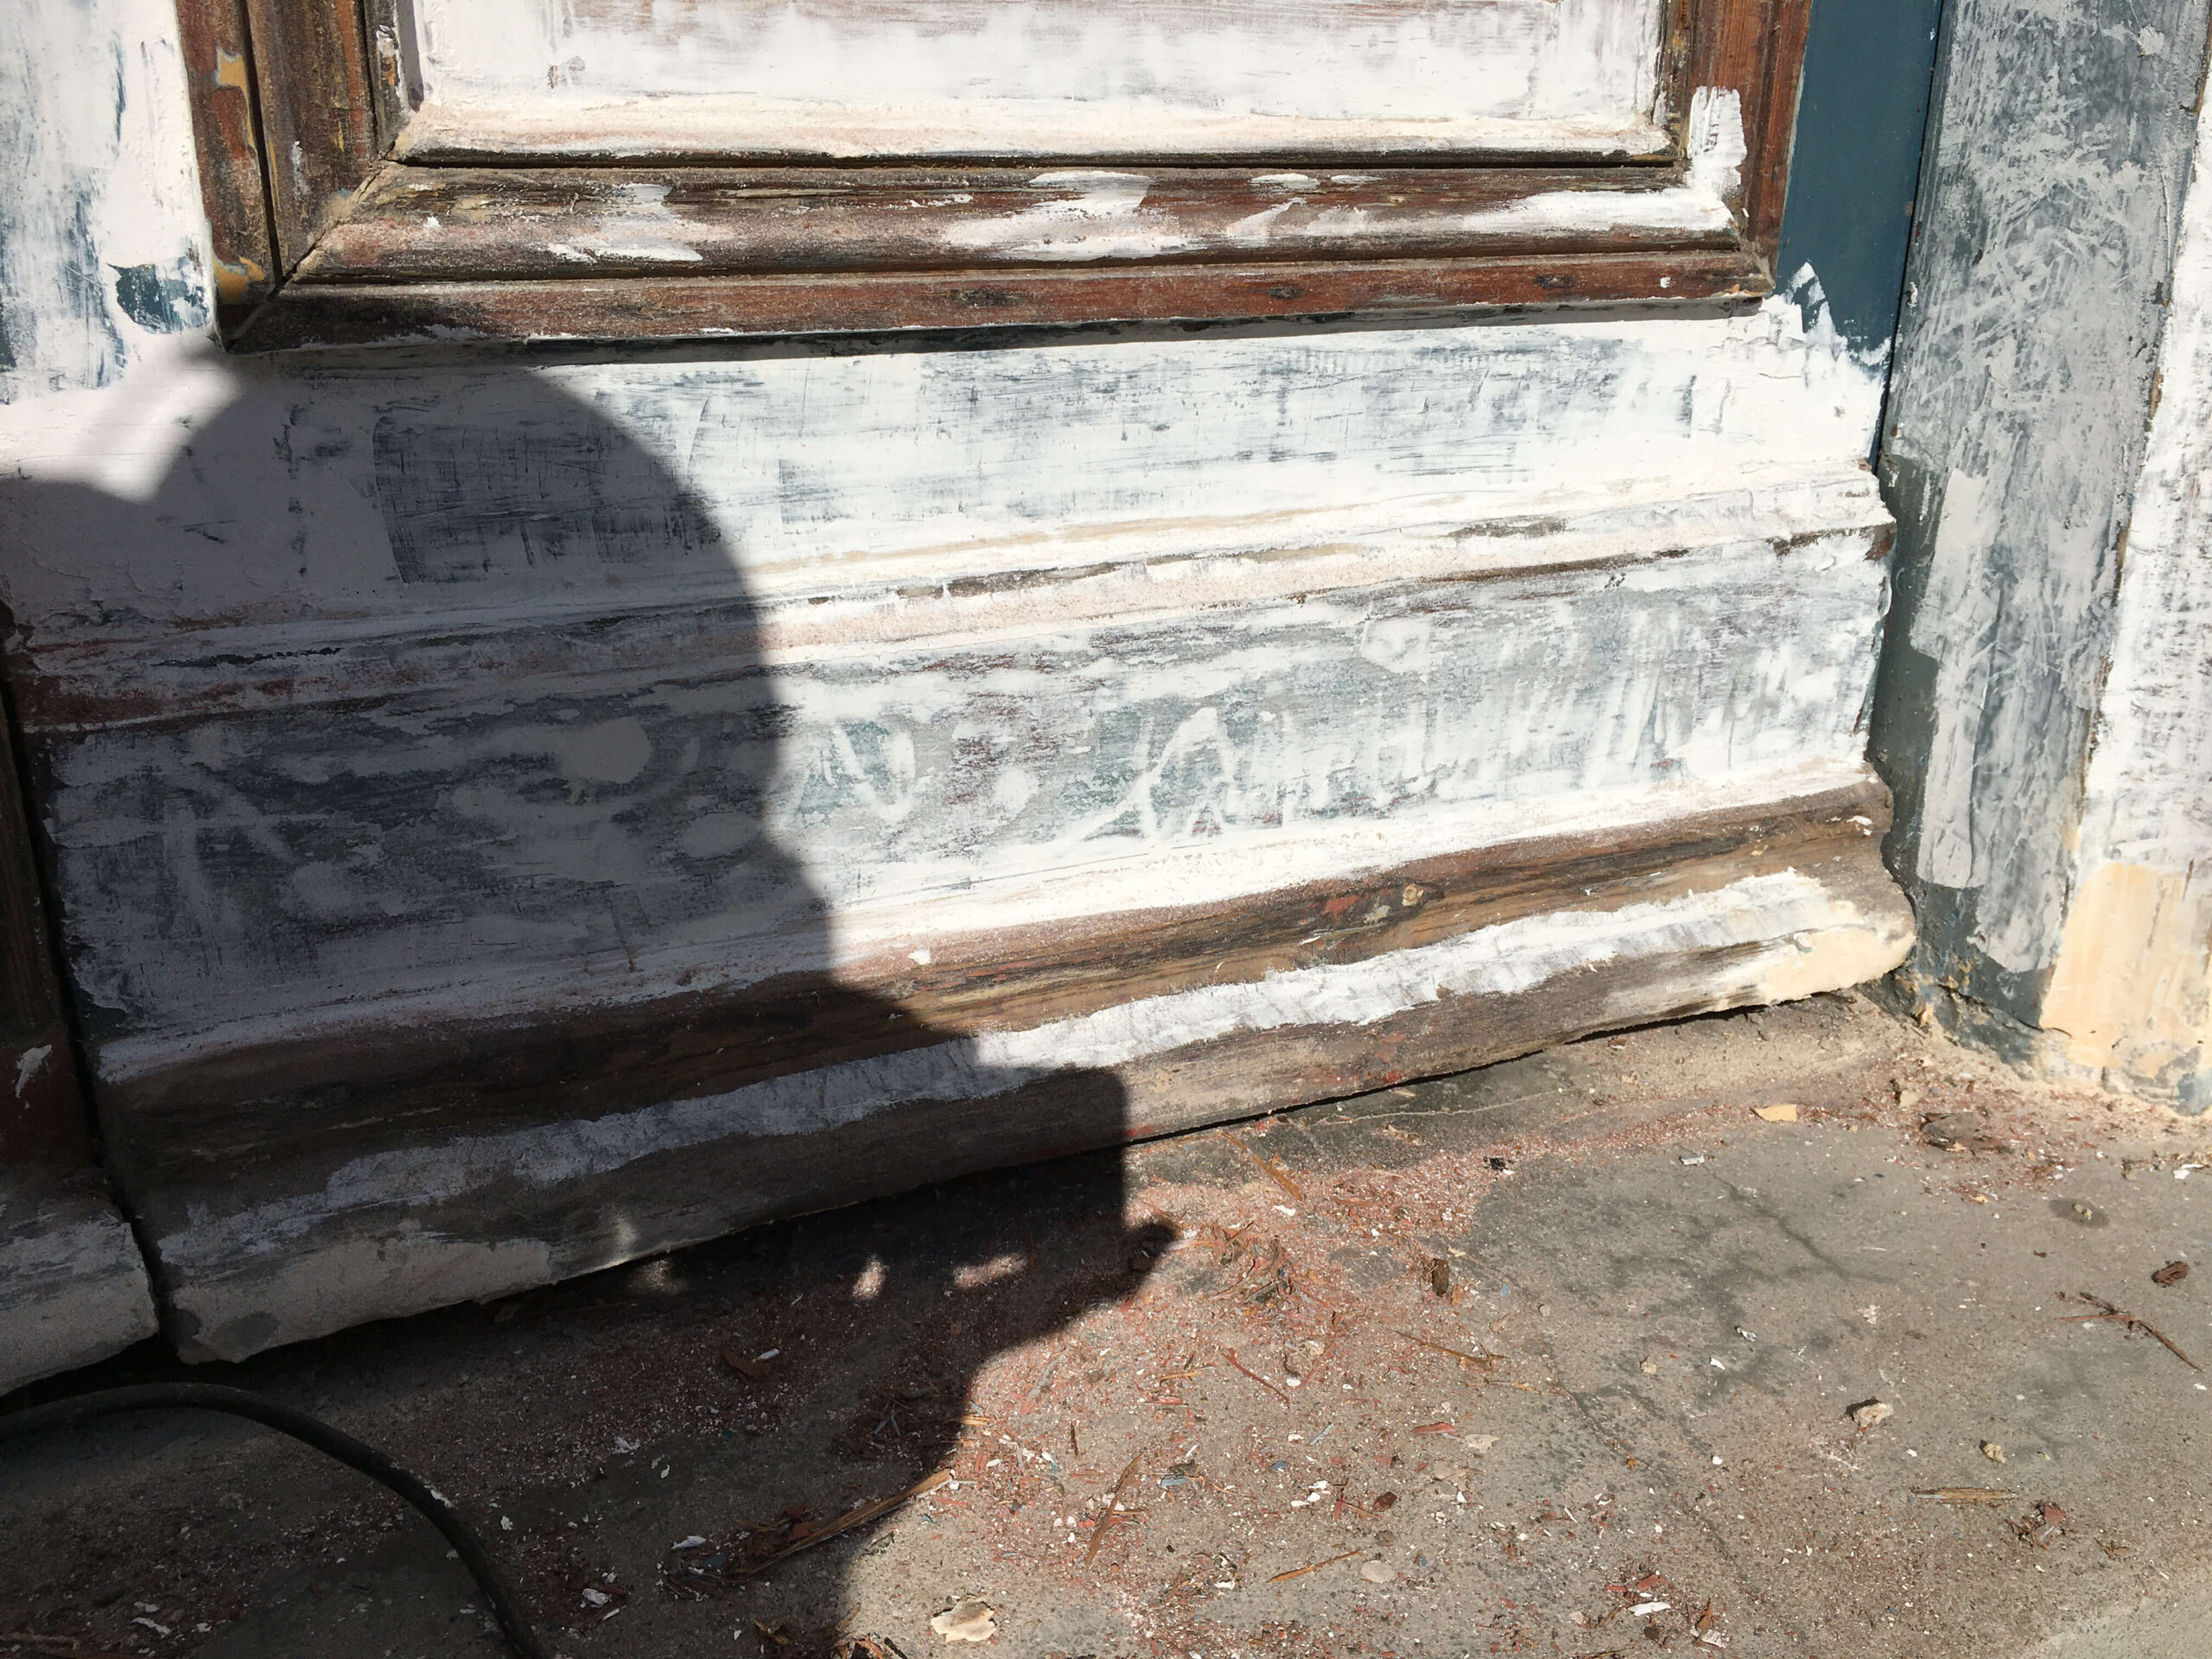
It turned out I was better off giving the whole door one layer of filler in addition, on order to make the repaired spots plain with the rest of the door. Also, even places I had not repaired and only sandpapered, had scratches that could sure use a layer of filler.
On the third day I sandpapered the door a final time, using manual sand-paper grain 240.
3.
Prepare for oil and finish the grounding-job
A day after, ensuring everything is 100% dry, I ran the whole door over one list time using manual sandpaper grain 180. Be careful not using lower grain-size, as it will easily leave scratches in your filler.
When done, I first brushed the door with a hand brush. Then I used my compressor with a duster/ air-blower, and realized a brush was not sufficient. When done, I washed the whole door down using clean water. When the door had completely dried up, I ran it over one last time with a hand-brush, as some remaining dust had assembled in the corners.
1.
Use outdoor linen-seed oil with fungicides
Linen-seed oil with fungicides is used for outdoor purposes only, and help the wood from being attached by fungus.
If you apply too much, you may risk that your surface becomes hard and shiny, making it hard for the paint to stick. The surface should be soft.
2.
How to apply
Usually you should wipe off any remaining oil that has not been sunk into the wood, in order to protect the oil from hardening becoming like it being coated. In this case though, the wood was so damaged and dry that the oil was suck up faster than I could apply it. Using a brush I could apply 3-4 layers in one go, before the wood was saturated. I then wiped it all off after about 30 minutes, ensuring it was all smooth when done.
3.
How many layers to apply
Normally, I apply only 1 to 2 layers grounding oil prior paining. In this case, the day after applying 4-5 layers, the wood was just as dry as the day before. On this following day I was able to apply 3 layers with 1 hour in between.
I decided to not give any more layers of oil, as the wood should still be “thirsty” enough to being able to make the paint stick to it, and able to harden.
4.
Sanding in between the layers
Between each layer of oil, I gently ran over using manual sand-paper grain 120, as there will always be fibres rising. Also, there will always be remaining dust from the filler, despite of having been washed thoroughly before oil is applied. So, a gently run-over with a piece of sandpaper between each layer is adviced.
1.
Use citric acid
For only a few dollar you can buy a bottle of citric acid as powder. After having tried tonnes of expensive products but given up, I tried this trick.
I used 1/3 bottle of citric acid in half a bucket of water. After 24 hours in the mixture, the cobber looked like this.
DISCLAIMER: You don’t what this substance in your eyes and use gloves! It is really hardcore!
2.
Polish
As soon as the cobber dried, the dirt just stuck. So I had to start all over, and leave the cobber in the basket for a couple of hours. Then, I needed to wipe it clean straight away, in order to get the dirt off.
After that I used the Brasso bronze / brass / cobber polish, to achieve this final result.
Fuck-ups and Lessons Learned

1.
Go easy on the belt-sander! Once you stop or hold still just a second, it will dig deep into the wood! Start out slow!
2.
Use very very little paint! The linen-seed oil paint is so thin and you need barely no paint on the brush at all. Apply very very thin layers. And apply in 4-5 thin layers total. This was the biggest time consumer. I had to redo my paint-work 2-3 times in many places.

